主題
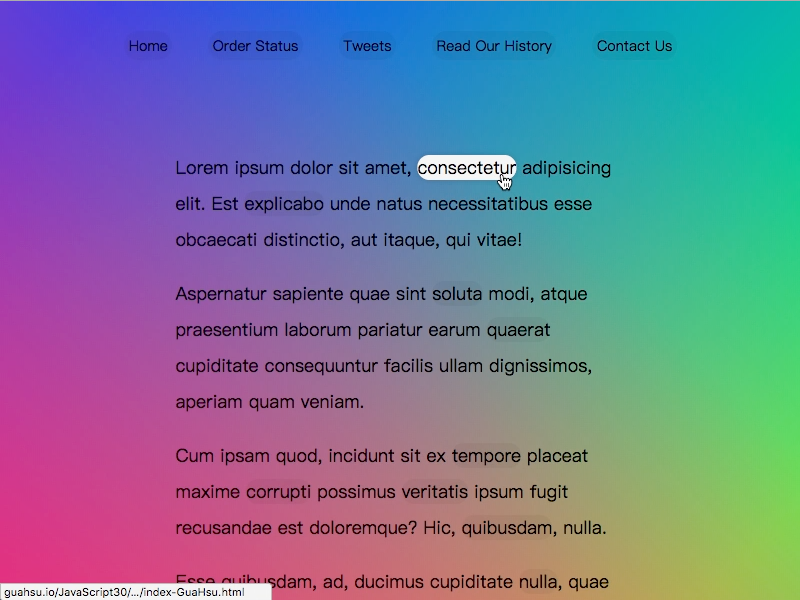
透過getBoundingClientRect與CSS的transform來達到HightLight樣式會跟著指定位置移動的效果。
步驟
Step1. 取得頁面元素
1 | // 取得HTML中所有的a元素 |
Step2. 撰寫移入狀態
用以下的JS對目標(a連結)定位並設定樣式1
2
3
4
5
6
7
8
9
10
11
12
13
14
15
16
17
18
19// 效果
function highlightLink() {
// 取得this(由a.addEventListener傳入,所以會是該a)的資訊
const linkCoords = this.getBoundingClientRect();
// 建立一個coords物件來存放會使用的寬高與定位資訊
const cords = {
width: linkCoords.width,
height: linkCoords.height,
left: linkCoords.left + window.scrollX,
top: linkCoords.top + window.scrollY
}
// 設定highlight效果的寬高及定位
highlight.style.width = `${cords.width}px`;
highlight.style.height = `${cords.height}px`;
highlight.style.transform = `translate(${cords.left}px, ${cords.top}px`;
}
// 監聽所有a元素的滑鼠移入,觸發highlightLink
triggers.forEach(a => a.addEventListener('mouseenter', highlightLink));
位移的效果主要來自已經寫好的css與js裡面重新定位的translate1
2
3
4
5
6
7
8
9
10
11
12.highlight {
transition: all 0.2s;
border-bottom:2px solid white;
position: absolute;
top:0;
background:white;
left:0;
z-index: -1;
border-radius:20px;
display: block;
box-shadow: 0 0 10px rgba(0,0,0,0.2)
}
語法&備註
Element.getBoundingClientRect()
返回目標元素的大小與相對於瀏覽器視窗的位置資訊