繼上次的練習用 Vue.js + Firebase 製作即時聊天功能,
這次用firebase的storage來擴充傳圖片的功能!
>DEMO<
>原始碼-GitHub<
Firebase設定
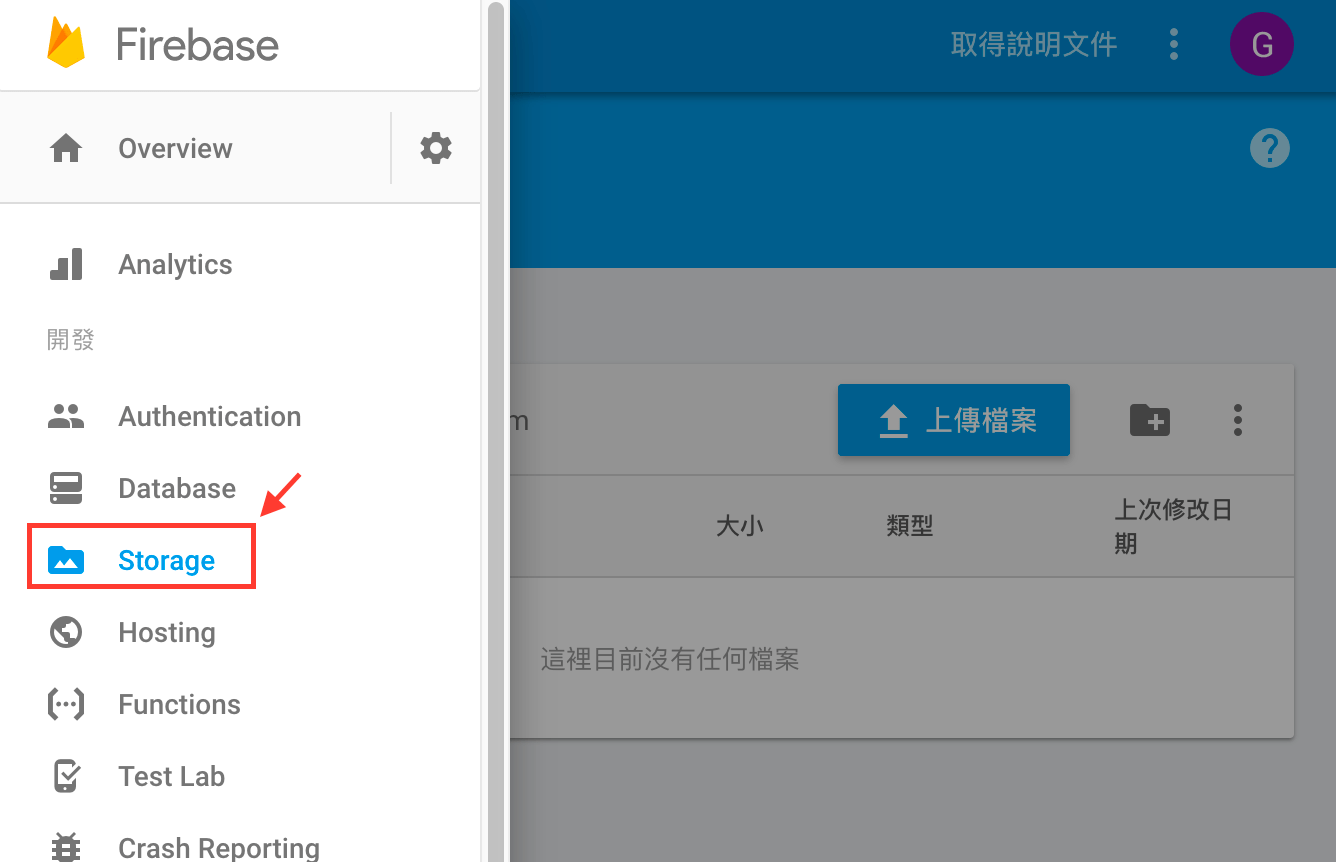
要先到左側選單找到storage,
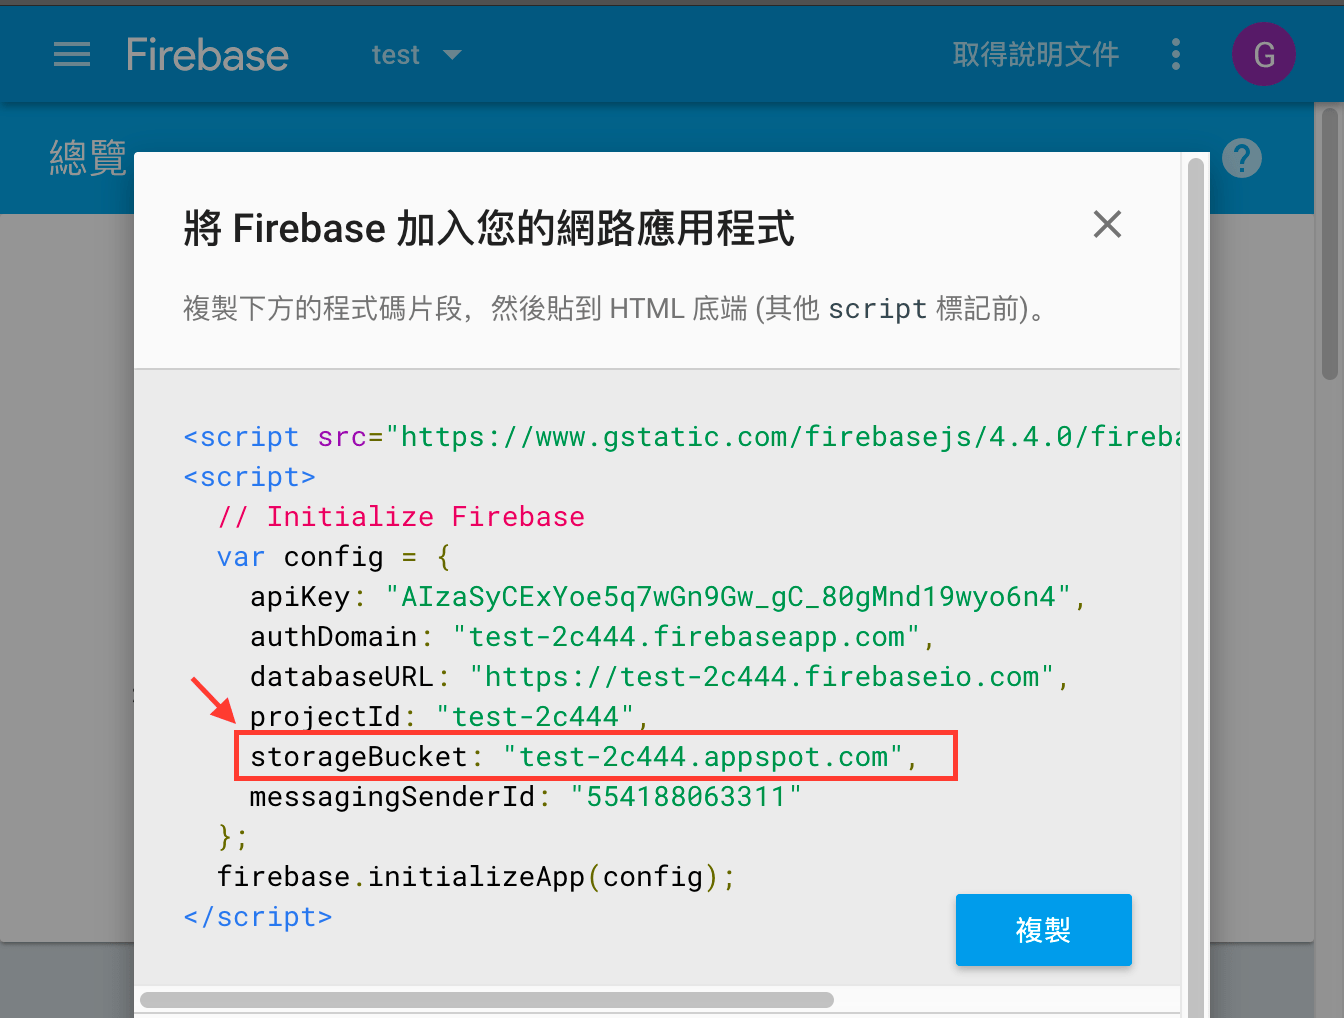
進去啟用後再回到首頁複製一次連結資訊。
要確定storage中已經有值喔!
流程
- 點選傳送圖片
- 選取圖片/使用拍照功能
- 上傳到storage並顯示進度條
- 完成將帶回的圖片連結寫進db
- 透過realtime db更新,讓所有連線者即時看到圖片
刻畫面
加個小按鈕,並且把圖片顯示框寫好,
紀錄一下遇到的問題:
當把input file隱藏起來後,一直無法套上pointer的效果,
結果爬文後才發現要讓他有pointer的效果要加上padding-left:100%!1
2
3
4
5
6
7
8
9
10
11.roomBottom__tools_upload input {
width: 100%;
height: 100%;
left: 0;
right: 0;
opacity: 0;
position: absolute;
cursor: pointer;
/* 讓input file可以支援pointer要加pl100% */
padding-left: 100%;
}
主程式
僅列出更新的部分,其他同上一篇,
一樣不包含落落長的CSS,完整參考github
HTML:
1 | <!-- ...略... --> |
JavaScript
1 | // 跟msgRef一樣先宣告好storage會用到的資料夾 |
有空的話再練習清單
- 加入拖曳傳圖功能
- 圖檔縮放框
心得
firebase的storage提供的API可以很輕鬆的取回上傳進度、以及上傳後的網址回傳,普遍常見的訊息儲存與圖片上傳都可以透過firebase來實現無後端程式。
今天一起來就開始邊寫邊測,功能實現真的好興奮啊XD
然後我這樣components越寫越長好像很糟糕,
我必須要趕快找正確拆分邏輯的作法了XD!